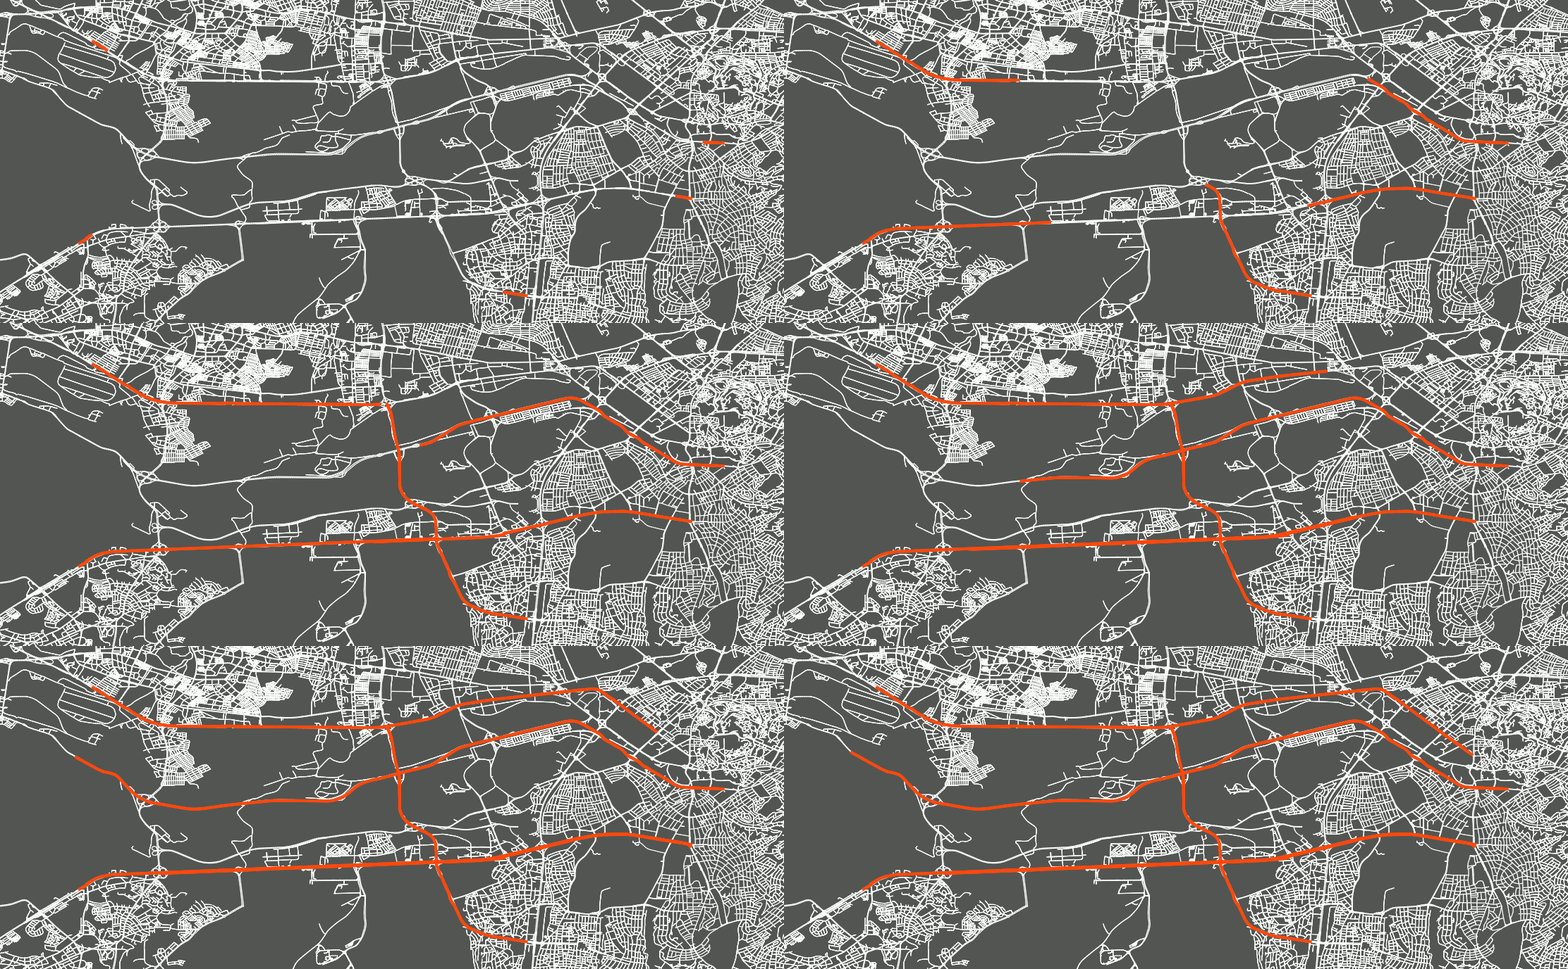
Nowadays, the importance of the Floating Car Data (FCD) and its usage areas is growing tremendously. A geographic-based road data with known flow direction is a fundamental element for intelligent transportation systems and traffic analysis with FCD.
So today, Let’s say we have raw road network data and we want to extract the corridors and their flow direction. To do that, we have created a plugin called Corridor Detection.

e.g. raw network data on QGIS (Ankara)
So, can we order the related corridor manually (segment by segment)? The answer is yes. However, is it efficient? The answer is absolute no.
For the sake of efficiency, we thought the Dijkstra’s Algorithm could be manipulated for this objective. In the beginning, we needed some pre-processing and it was creating an adjacency matrix of the network data.
What is an adjacency and what is its matrix? You might ask. Let’s go through a small example,

Segment Adjacency Example
Supposing, we are focused on the segment named 100 (framed in green). You can see the direction of the segments by looking at the arrow symbols. Its adjacent segments should be the ones which are flowing towards to it (direction is towards to it). If we want to call that in traffic terminology, they should be its downstream. Therefore, Its adjacent segments should be 101 and 102 (with green arrows).
So, this is the adjacency. Another question was, what is its matrix?
An adjacency matrix is simply applying the method above to all other segments in the data and storing it on something. In our case, we created those matrices on QGIS as Python dictionaries and wrote them on a CSV files. You can find the matrix generation codes here.
The preprocess before using the plugin is done! Now, let’s see how the plugin works.
First of all, here is the Interface of our plugin. You can find more information about the interface and how to use the plugin here.

Interface of the plugin on QGIS
You might have guessed, with the intention of extracting corridors, we first have to determine which corridor we will be working on. For the purpose of doing that, we have created a selection tool with direction demonstration using arrows through PYQGIS.

Selecting a segment with plugin
Done ! It also shows the direction which is vital information for us. Also, the order of selection is crucial. Since the output will depend on this information mainly. Now, we have to select at least one more segment. But in most cases, we will be needing more selections. So, there is an example of how the selections might look like,

Selecting multiple segments
Alright, we have selected the segments. The next step is just running the algorithm.

Result after running the algorithm
Now, the corridor is detected. We can edit if there are segments we do not think are in the right order. Instead, we could just return to the selection we had, with return selection button. We are able to play a few and rerun the algorithm again.
If we are done with our selection, we may want to export the result as ordered segments on a file (.csv, .txt) and use it in our projects.
Lastly, you can visualize the results via clicking the visualize button and open temporal settings on the plugin interface. You may see something like the following gif. Which will add a little bit of fun.

Corridor Detection Plugin result visualization
Feel free to download & check out the plugin codes and files on Github: https://github.com/meteergen/Corridor-Detection

We, the Hacettepe Geomatics Engineering Team are working with ISSD for our graduation project. This plugin is one of our project. We will be improving this plugin and implementing new technologies on it.
Hacettepe Geomatics Engineering Team Members,
Dr. Berk Anbaroğlu, Metehan Ergen, Berkay İbiş, Atahan Çelebi
